Water-Based Epoxy Color Sand Floor Coating: Features, Applications and Installation Guide
May 08, 2026
1. What Is Water-Based Epoxy Color Sand Floor Coating?
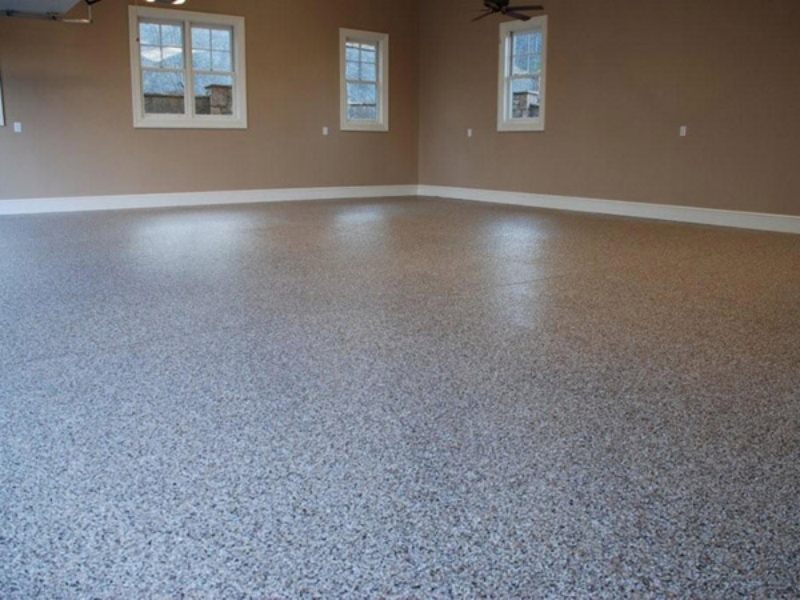
Water-based epoxy color sand floor coating is a new type of green environmental protection flooring material. It uses water-based epoxy resin as the main material and mixes with special colored quartz sand. After professional on-site mixing and roller coating or trowel construction, it forms a seamless, dense, uniform, and high-grade floor surface.
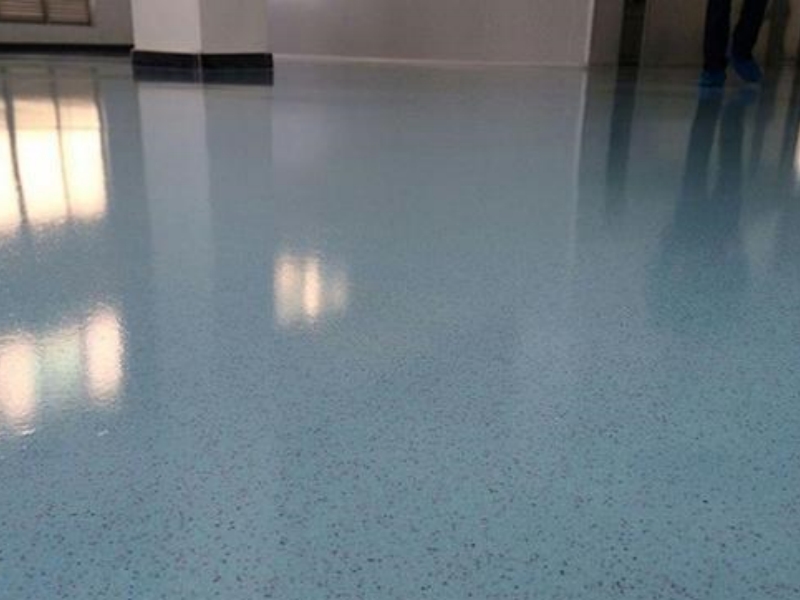
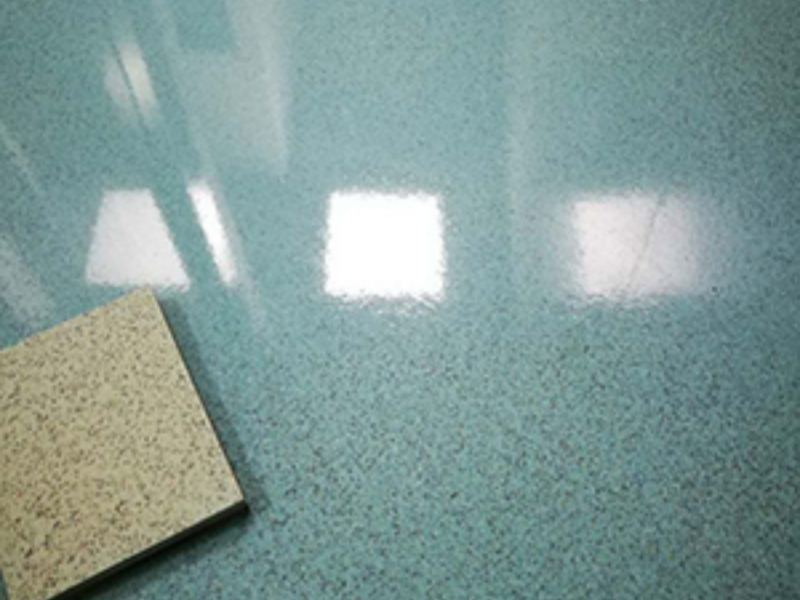
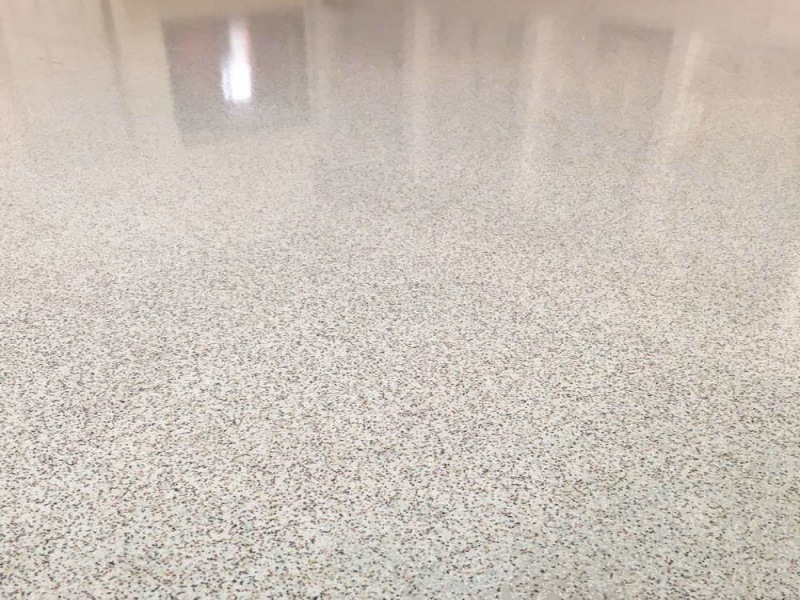
Different from ordinary plain epoxy floor paint, color sand floor coating has natural granular texture, rich color layers, and a matte or semi-gloss finish. It avoids the problem of dazzling high-gloss reflection and provides a more comfortable and advanced visual effect.
2. Core Advantages of Water-Based Epoxy Color Sand Flooring
Eco-friendly and Low VOC
Water-based formula uses water as the dilution medium, no strong pungent odor, low VOC content, and meets international environmental protection standards such as CE and SGS. It can be constructed in occupied spaces and is very suitable for indoor closed environments.
Seamless and Easy to Clean
The integral seamless floor surface does not hide dust or bacteria. The dense coating effectively resists daily dust, oil stains, and dirt. Daily cleaning only requires simple mopping, which greatly reduces later maintenance costs.
Excellent Wear and Scratch Resistance
After curing, the color sand floor forms a high-hardness protective layer. It can resist frequent pedestrian walking, light trolley rolling, and daily friction, ensuring long-term service life in high-traffic areas.
Anti-slip and Safe
The fine granular texture provides stable anti-slip performance, even when the floor is slightly wet. It effectively prevents slipping accidents and is safer than ordinary smooth epoxy floors.
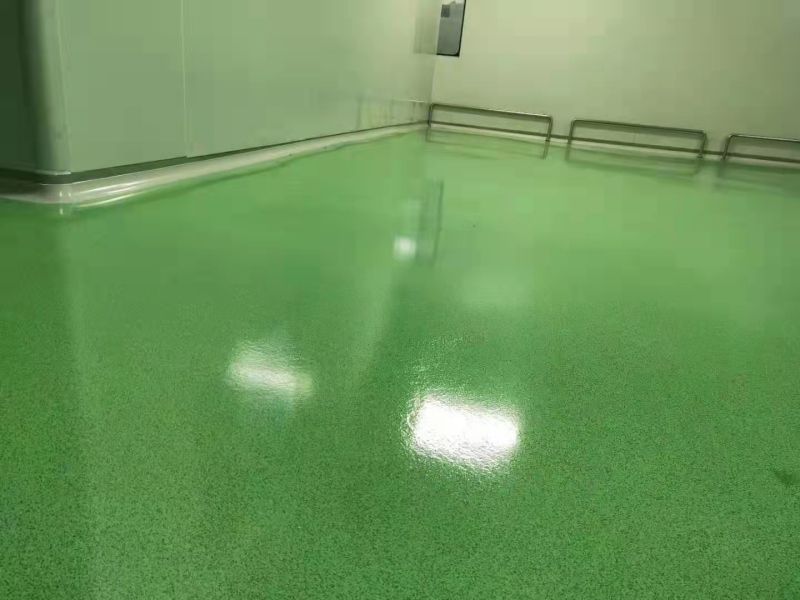
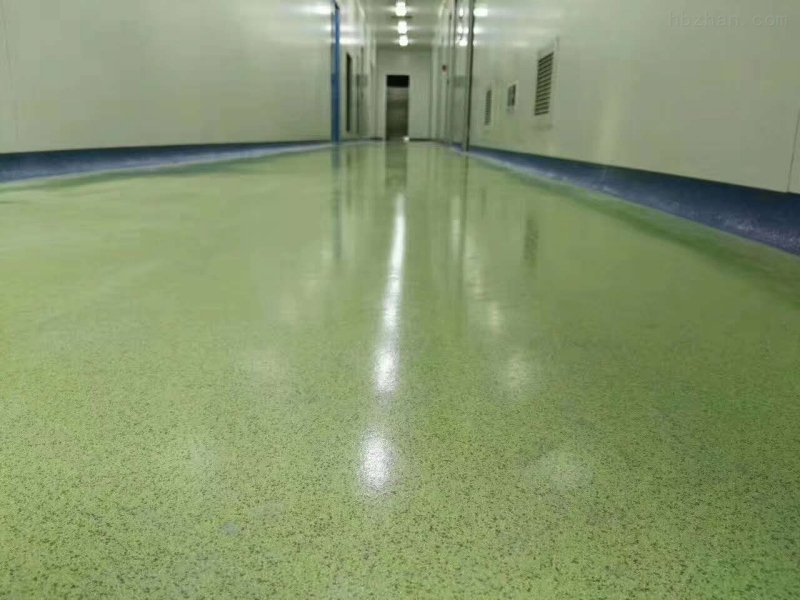
Rich Colors and High Aesthetics
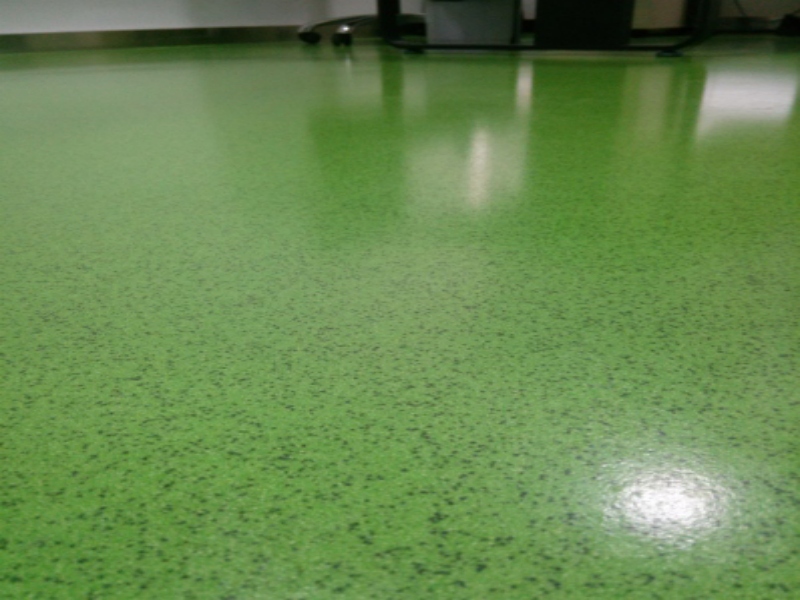
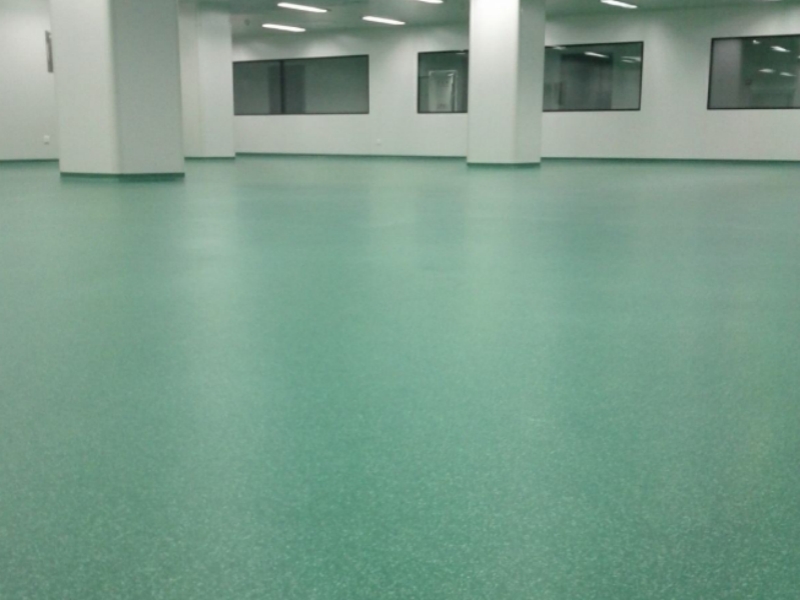
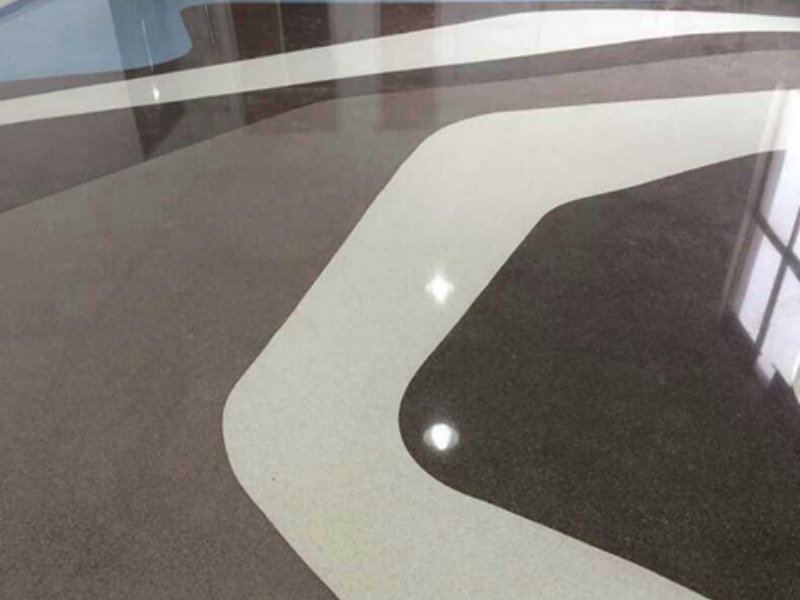
Color sand supports customized color matching, including gray series, blue series, green series, beige series, and mixed color styles. The overall texture is natural, high-end, and not easy to fade, perfectly matching modern minimalist, industrial, and commercial decoration styles.
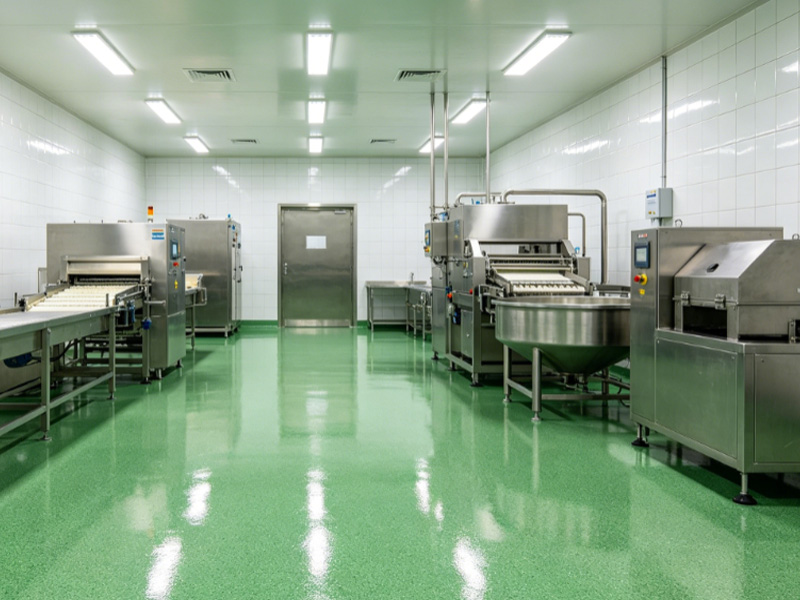
3. Main Application Scenarios
Commercial Spaces
Shopping malls, exhibition halls, office buildings, studios, and gyms prefer water-based color sand floor coating because of their high-grade texture, no odor after construction, and fast delivery.
Industrial Workshops
Electronics factories, food workshops, pharmaceutical workshops, and light industrial factories require clean, dust-free, and environmentally friendly floors. Water-based color sand is dust-proof, antibacterial, and compliant with industrial clean standards.
Underground Parking Garages
Garages need anti-slip, wear-resistant, and stain-resistant floors. Color sand garage floors can effectively solve tire friction marks, dust, and slippery problems, while improving the overall grade of the parking lot.
Residential Interior Flooring
More families choose water-based epoxy color sand floor coating for living rooms, corridors, and duplex building floors. No formaldehyde, seamless integration, and customizable colors make the whole house more simple and advanced.
4. Standard Installation Process
Step 1: Floor base treatment — Grind, level, and remove dust to ensure a flat and solid base surface.
Step 2: Primer coating — Roll water-based epoxy primer to enhance adhesion and seal the base floor.
Step 3: Color sand mortar coating — Mix colored sand and water-based epoxy resin evenly, trowel or roll to form the main texture layer.
Step 4: Topcoat protection — Apply transparent water-based topcoat to enhance wear resistance, anti-fouling, and gloss uniformity.
ЧИТАТЬ ДАЛЕЕ


 Поддерживается сеть IPv6
 Русский