Epoxy Colored Sand Floor Paint for Car Showrooms: Premium Durable & Aesthetic Flooring Solution
Jul 26, 2026
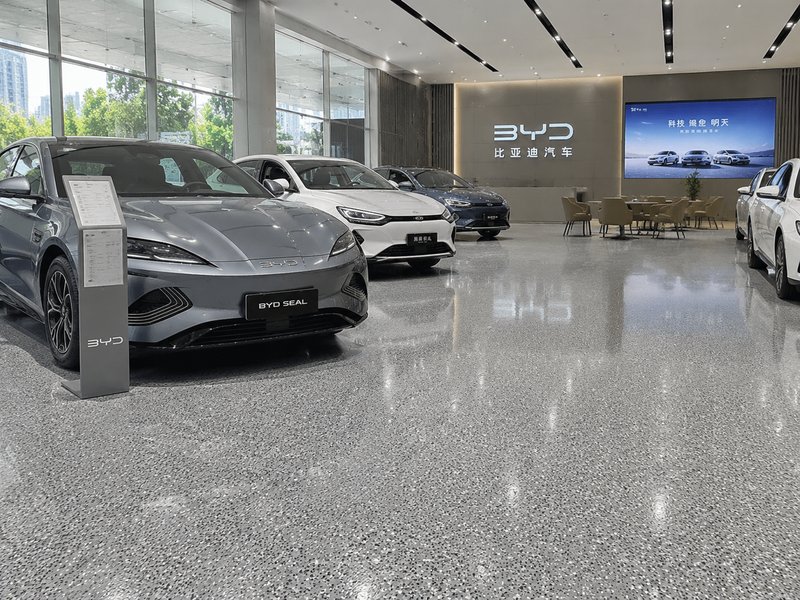
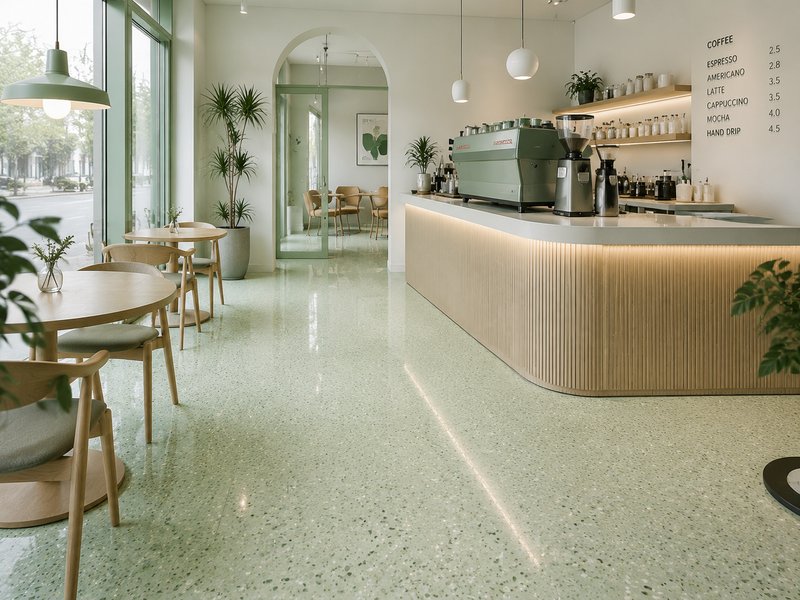
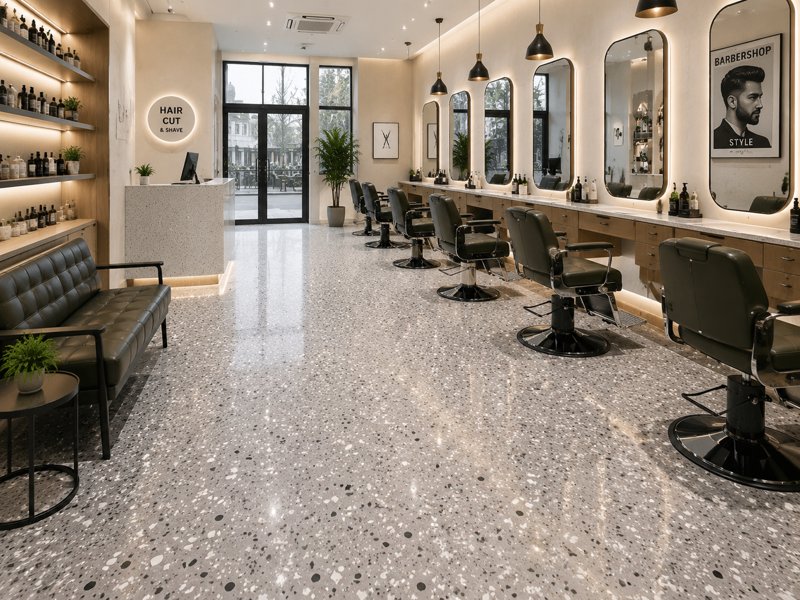
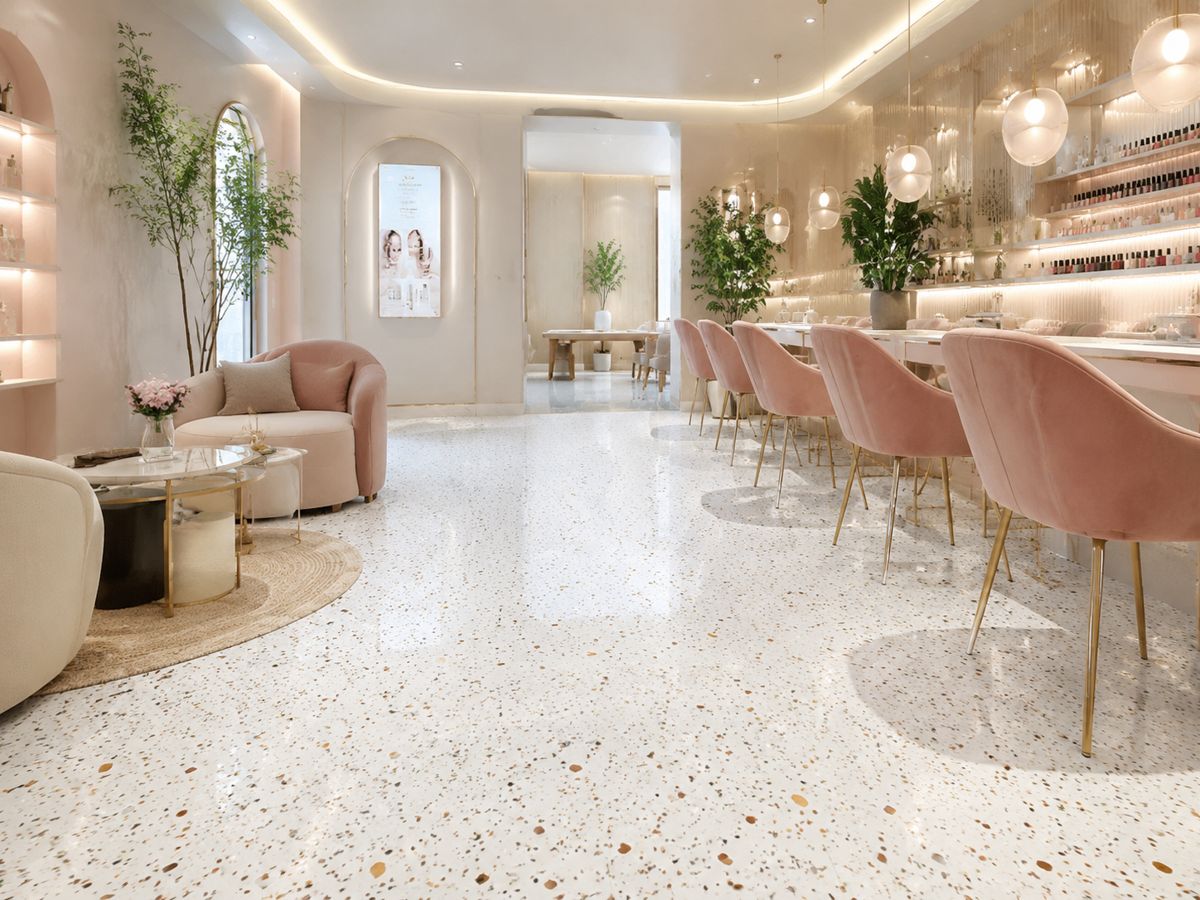
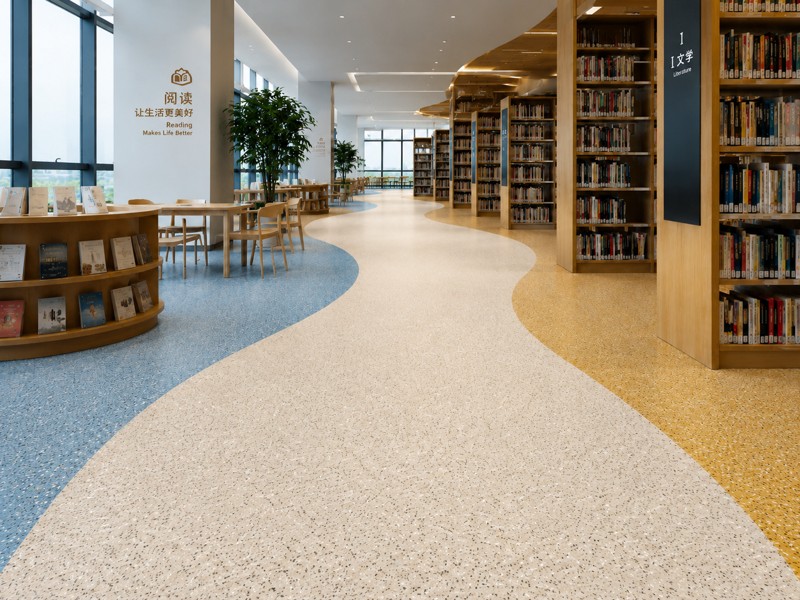
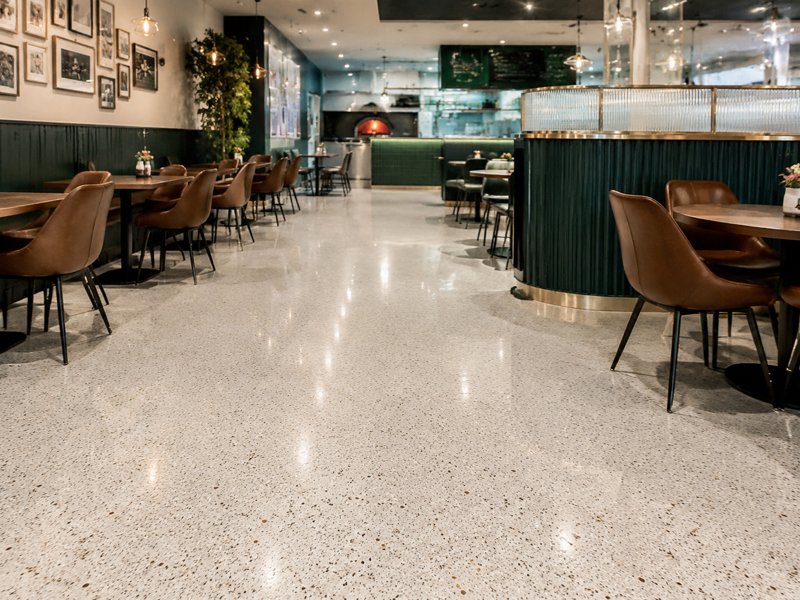
As the core display space for brand image, car showrooms demand extremely high standards for floor aesthetics, texture, durability and cleanliness. Ordinary epoxy flat coating and ceramic tile floors can no longer meet the decoration requirements of high-end automobile brands. With superior decorative effects, robust physical properties and easy-maintenance features, epoxy colored sand floor paint has become the mainstream flooring choice for 4S stores, automobile exhibition halls and luxury car experience centers.
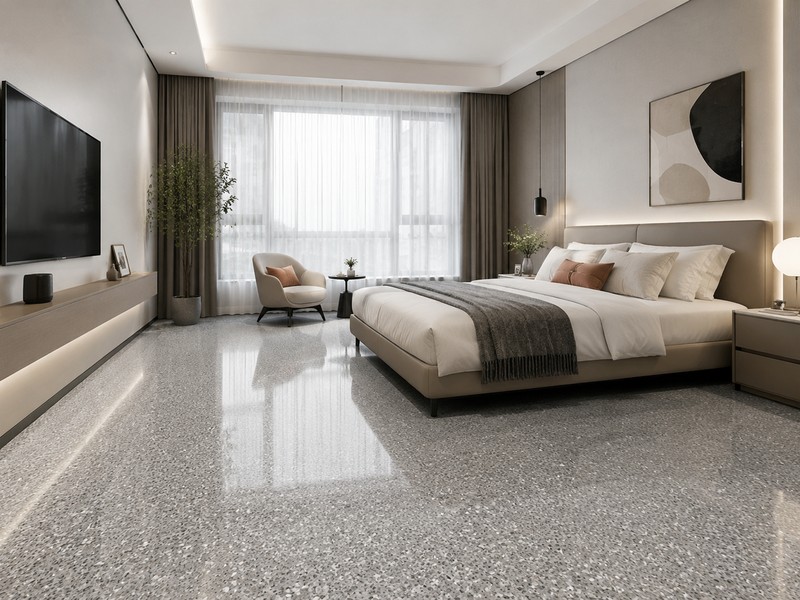
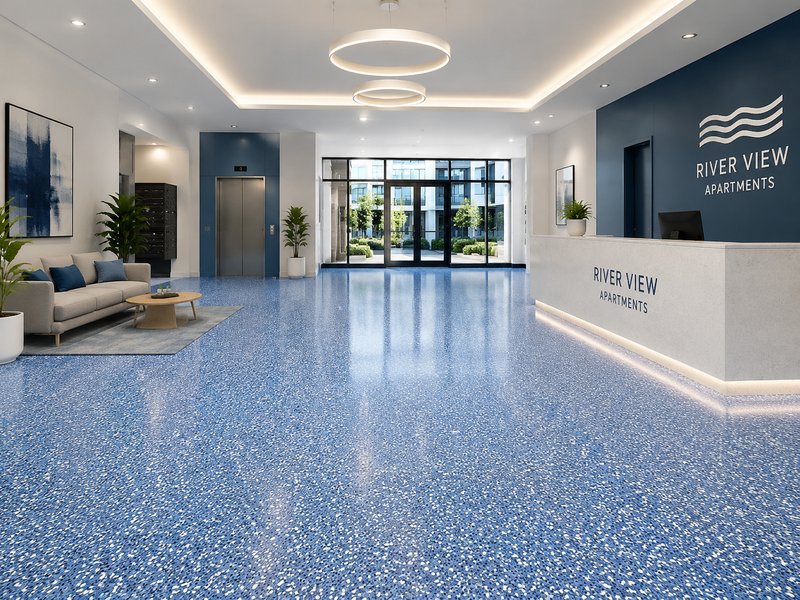
Specially formulated for car showrooms, this floor paint is made of high-quality epoxy resin and carefully selected colored quartz sand aggregates. Adopting an integrated self-leveling construction process, it creates a seamless, delicate and full-colored premium floor surface. Different from traditional flooring materials with splicing gaps, color difference and dust-prone defects, color sand flooring features uniform and natural colors. It supports customized solid colors, gradients, marble imitation and minimalist artistic textures, perfectly matching the light luxury, minimalist and business decoration styles of high-end car showrooms. It effectively highlights the texture of displayed vehicles and upgrades the overall brand image of the store.
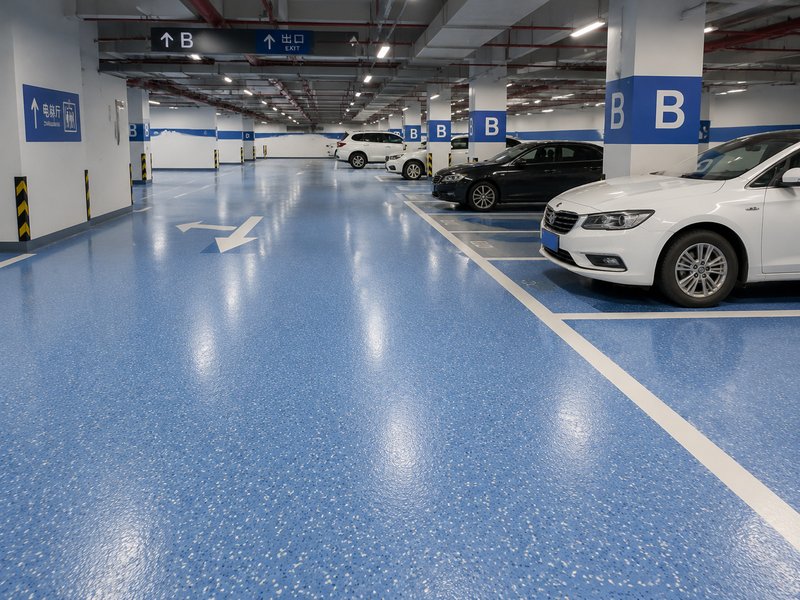
In terms of performance, the color sand floor for car showrooms delivers excellent comprehensive performance. The high-density color sand aggregate structure endows the floor with ultra-high hardness, wear resistance and compression resistance. It can withstand long-term high-frequency loads such as heavy pedestrian traffic, slow vehicle movement and equipment handling, without scratches, abrasion, sanding or cracking, with a service life of more than 10 years. Meanwhile, the dense non-porous floor surface boasts outstanding oil resistance, acid and alkali resistance, dustproof and waterproof performance. It resists erosion by engine oil, cleaning agents and daily stains, requiring only simple mopping for daily cleaning and reducing long-term maintenance costs significantly.
In addition, this eco-friendly floor paint adopts a solvent-free formula with ultra-low VOC content, non-toxic and odorless. It can be put into use quickly after construction, perfectly adapting to the high-frequency operation needs of commercial venues. The delicate anti-slip surface ensures walking safety in both dry and wet conditions, avoiding slip risks for customers and staff. It can be seamlessly paved in new car display halls, reception areas, corridors and boutique display zones, creating a unified, elegant and high-grade space with perfect balance of beauty, safety and practicality.
Compared with marble, ceramic tiles and ordinary epoxy floors, epoxy color sand flooring has higher cost performance, better decoration and stronger durability. It is currently the optimal flooring solution for high-end car showrooms, auto life halls and new energy vehicle experience centers, helping automobile brands build upscale, clean and exquisite display spaces.
ЧИТАТЬ ДАЛЕЕ


 Поддерживается сеть IPv6
 Русский